
Reviewed · WORKSHOPS
Tokyo: Gameboy Mod Workshop at Akihabara
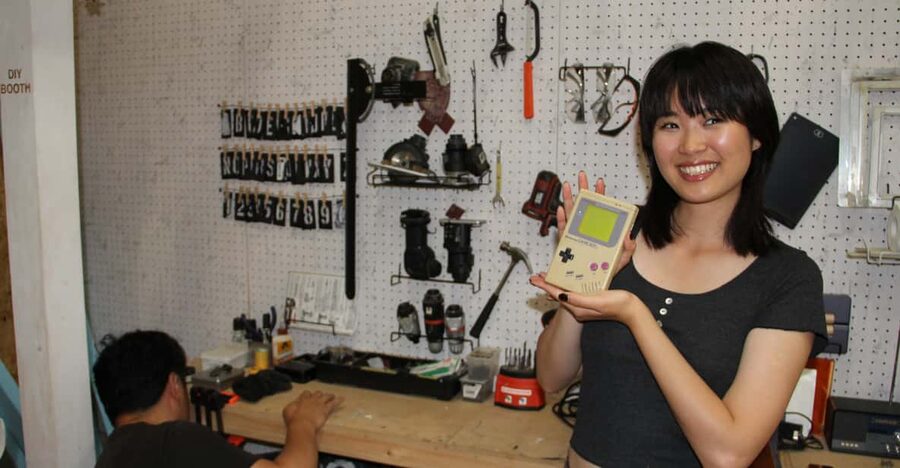
Retro gaming gets hands-on here. This two-hour Akihabara workshop lets you choose your own colors, buttons, case, and screen, then take apart and rebuild a classic DMG-01 Game Boy with patient help. I especially like the small group size and the short history lesson, which gives the activity more meaning than a simple electronics class. The main drawback is the $360 price, plus stairs to the second-floor workshop.
You do not need electronics experience. The English and Japanese-speaking team works with beginners, children, serious Nintendo fans, and curious partners who simply want to make something unusual in Tokyo. The finished Game Boy is more than a souvenir you display once: you can take it home, load it with games, and play it.
In This Review
- Key points to know before booking
- Why this Akihabara workshop feels different
- Starting with the story of the Game Boy
- Choosing your own Game Boy design
- Taking apart the classic DMG-01
- Rebuilding with a modern screen and new parts
- Finishing the build and choosing games
- Is $360 a fair price?
- Who will get the most from the experience?
- Practical details that can affect your day
- My verdict: book it if the console matters
- FAQ
- Where does the Game Boy mod workshop take place?
- How long does the workshop last?
- How much does the workshop cost?
- How many people can join each workshop?
- What languages are available?
- What is included in the experience?
- What can I customize?
- Is the workshop wheelchair accessible?
- Can I cancel or pay later?
Key points to know before booking
- A four-person class keeps the work personal: You get close help instead of trying to follow a large demonstration.
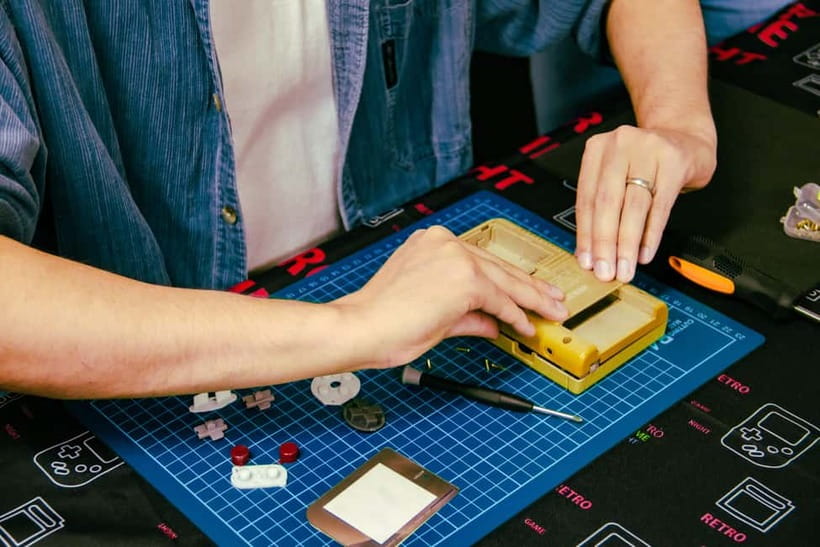
- The customization is the heart of the experience: Pick the case color, buttons, power switch, screen surround, and other available parts.
- You learn before you build: The session begins with Game Boy and handheld-console history, often with older consoles available for hands-on viewing.
- The finished console uses modern upgrades: The rebuilt unit can include an improved backlit screen and updated internal parts, depending on the workshop setup.
- You can shop for games afterward: The workshop has Japanese and international Game Boy titles, and several participants found its prices lower than at major Akihabara game shops.
- The stairs matter: The workshop is on the second floor of the Wakita Building, with no elevator or escalator.
Why this Akihabara workshop feels different
Akihabara is full of places where you can buy games, figurines, consoles, and computer parts. This workshop gives you something harder to find: a reason to slow down and make something with your hands.
The setting is simple. You follow the address to the Wakita Building and go up to the second floor. This is not a grand museum with polished displays and crowds moving through at their own pace. It is a compact workroom run by people who clearly care about Game Boy hardware and retro gaming.
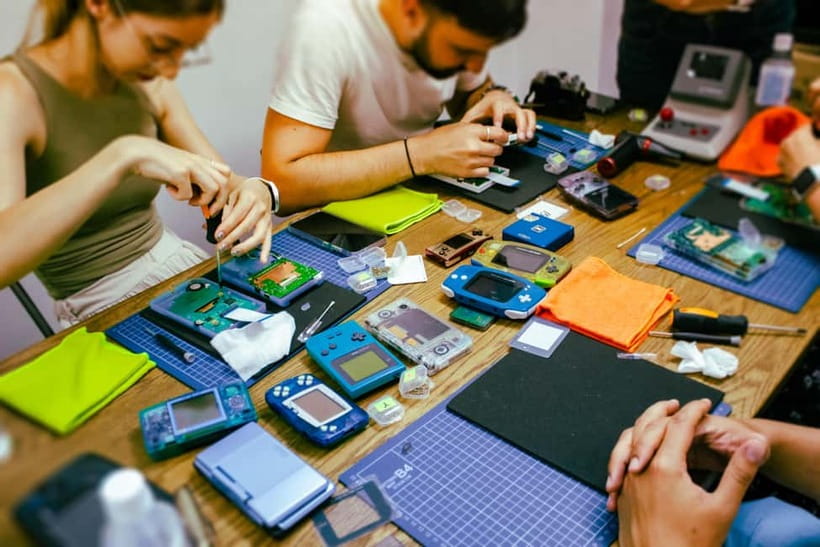
That personal scale matters. With a maximum of four participants, the staff can watch your progress closely. If a screw, connector, or small part causes trouble, you are not left guessing for long. The team checks the work as you go, which is especially helpful if this is your first electronics project.
The mood also seems to be part of the appeal. The staff are described as warm, energetic, and easy to talk with. Names that come up in the experience include Ro, Gabi, Franz, and Shio-san. Staff assignments may vary, but the common thread is enthusiasm for old consoles and a willingness to explain things without making beginners feel out of place.
A few more options to weigh up in Tokyo
- Tokyo Disney Resort – Tokyo Disneyland & Tokyo DisneySea Park Tickets
★ 4.8 · 99,488 reviews - SHIBUYA SKY Ticket
★ 4.7 · 46,509 reviews - JR Whole Japan Rail Pass
★ 4.8 · 29,150 reviews
Starting with the story of the Game Boy
The workshop begins with an introduction to the Game Boy and the development of handheld gaming. You learn about the original DMG-01, its place in Nintendo’s console family, and the wider story of portable game systems.
This opening is not just filler while people wait for tools. It helps you understand why the original Game Boy became such an important piece of gaming culture despite its plain graphics and limited hardware. The workshop has displayed different Nintendo handhelds and rare items for participants to see, giving the history lesson a physical connection.
You may also get to handle or examine several older systems during this part. That is a nice touch for anyone who grew up with a Game Boy, but it also works for younger participants who know Nintendo mainly through newer consoles.
I like the way this changes the tone of the activity. You are not simply replacing a shell because it looks fashionable. You are working on a device that shaped portable gaming, then adapting it for modern use. The history makes the finished object feel less like a random gadget and more like a personal piece of gaming culture.
The presentation is in English or Japanese. The English support is particularly useful for international visitors, and the workshop is designed for mixed skill levels. You can ask basic questions about the controls or much more technical questions about the parts and modifications.
Choosing your own Game Boy design
After the introduction, you choose the look of your console. This is where the workshop becomes personal.
The available options include:
- Case or clamshell color
- Button colors
- Power switch color
- Screen surround
- Screen choice or upgrade
- Other provided supporting parts
The selection can be extensive, so it is worth taking a moment before committing to a design. You may find yourself choosing between a clean single-color build and a mixed-color version that looks nothing like the Game Boy you remember from childhood.
One participant created a special color combination instead of using the same color throughout. That is a useful tip: do not assume you need to match the original Nintendo look. The fun is in making a console that reflects your taste, even if the result is loud, odd, or delightfully impractical.
The staff help you understand what works together. They also give you time to decide. This is important because two hours can sound short, but the process is structured and guided rather than rushed.
If you are booking this as a gift, customization adds a strong personal element. A partner, child, or friend can make choices that turn the finished console into something tied to them, not just a standard souvenir bought off a shelf.
Taking apart the classic DMG-01
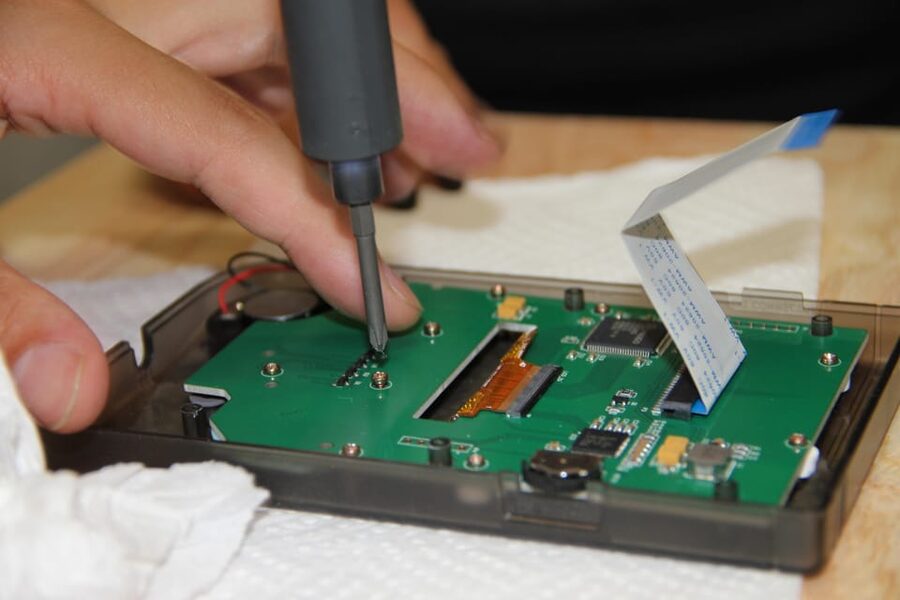
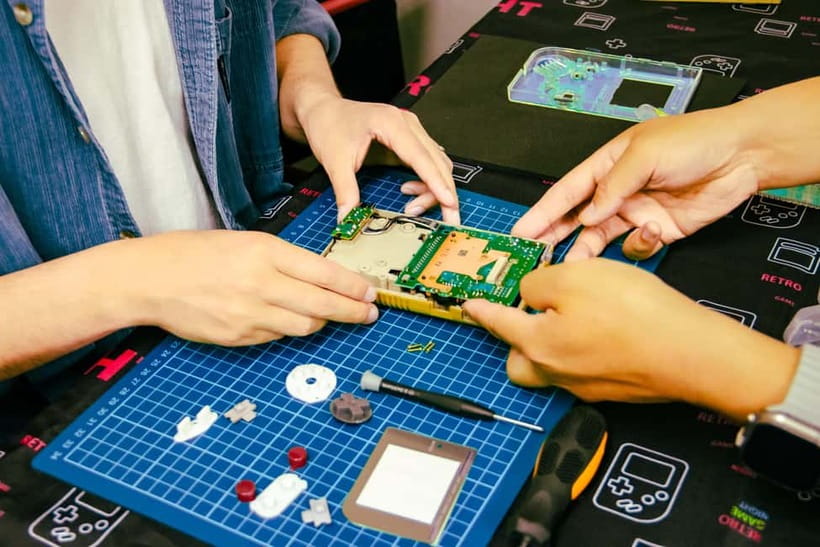
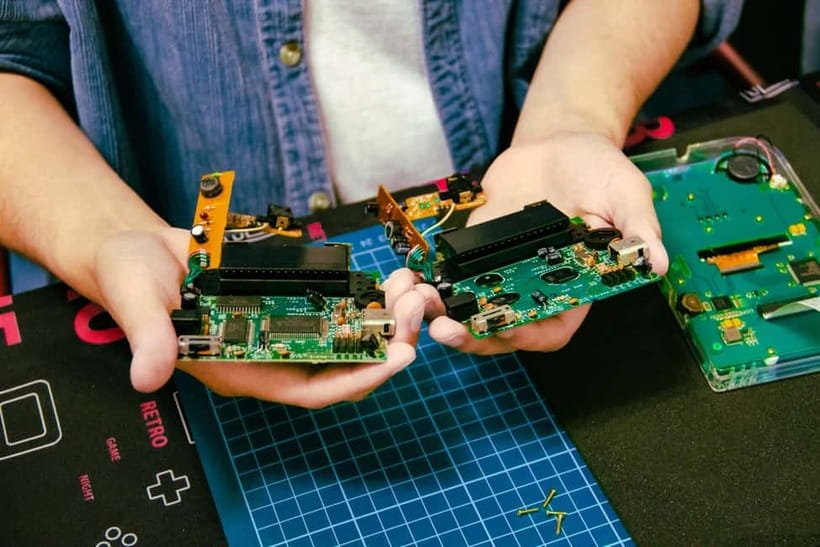
The hands-on portion involves opening the Game Boy, removing the useful original parts, and rebuilding the console with the selected components.
You get to see the old hardware from the inside. That alone can be fascinating if you have only ever held a Game Boy as a sealed plastic object. The staff explain each stage and help protect the delicate components during the process.
Do not worry if you have never handled electronics. The activity is set up so beginners can take part, and the staff check your progress. The guidance is practical rather than intimidating. You do not need to arrive knowing the difference between every board, connector, or screen cable.
At the same time, this is not a pretend assembly exercise. You are involved in taking the console apart and putting it back together. That gives the finished product more value than a machine assembled entirely out of sight.
Parents should note that the activity has worked well for older children and young teenagers. One family brought children aged 10 and 13, and another described a 13-year-old working closely with a staff member. Still, the parts are small and the work requires care, so a parent should stay involved with younger builders.
The small class size is one of the strongest practical features here. Four people means the instructor can spot when someone needs help. It also creates an easy setting for chatting with other participants who already share at least a little interest in games.
A completely different kind of day out:
- Mt Fuji and Hakone 1-Day Bus Tour Return by Bullet Train
★ 5.0 · 26,383 reviews - TOKYO SKYTREE® Ticket
★ 4.7 · 25,136 reviews - teamLab Borderless Tickets: MORI Building DIGITAL ART MUSEUM
★ 4.7 · 24,126 reviews - teamLab Planets TOKYO Ticket
★ 4.7 · 21,663 reviews
Rebuilding with a modern screen and new parts
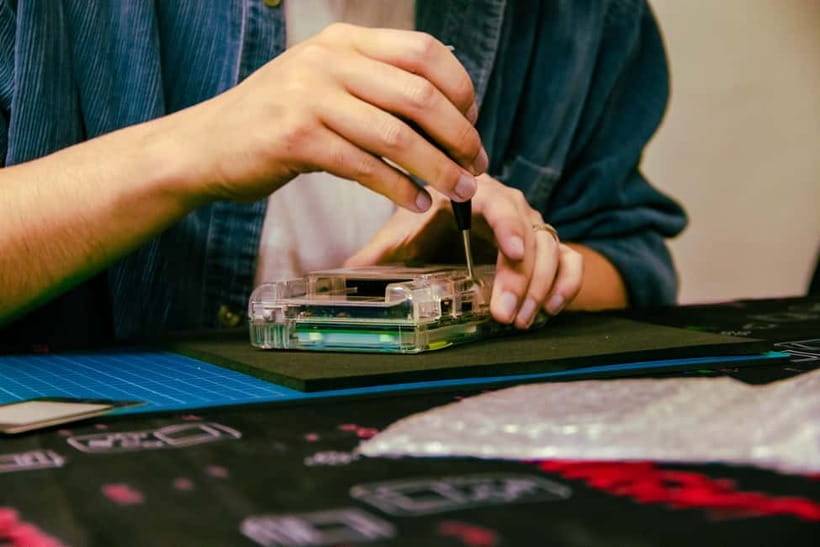
The rebuilt console combines the familiar Game Boy shell and controls with newer components. Depending on the build, you can choose an improved backlit screen and updated internal technology.
That backlight changes how usable the console is. The original Game Boy screen was famously hard to see in dim conditions, so a brighter modern display makes the machine more practical for everyday play. It also gives your custom case and buttons a better visual stage.
The workshop team tests the finished system and double-checks that it works before you leave. That final check is crucial. A hand-built souvenir is not much fun if it becomes a delicate object that you are afraid to turn on.
You should still treat the console with care. This is a rebuilt vintage system, not a brand-new mass-market Nintendo product with a standard warranty described in the supplied details. The workshop checks the unit at the end, but you should ask staff about any repair or support arrangements if that matters to you.
The process is satisfying because you see the transformation in stages. First, the Game Boy is an old machine. Then it is an open shell with exposed parts. Finally, it becomes a working console in a design that exists only because you selected it.
Finishing the build and choosing games
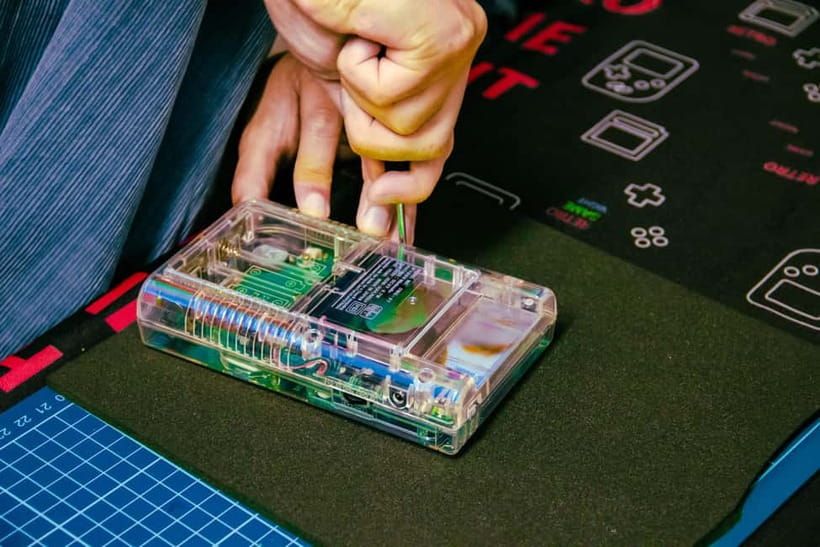
Once the console is assembled, you get to turn it on and confirm the result. This is the payoff: your choices are no longer color samples and loose parts. They form a working Game Boy you can play.
The workshop also has a large selection of retro games, including Japanese and international titles. Participants have found familiar choices such as Tetris, Mario, Kirby, and Dr. Mario, along with many other cartridges.
Some accounts describe a 1,000-yen game choice as part of the finish, while additional games are available to purchase. Because the precise game offer can change, ask the staff what is included on your date. The important advantage is convenience: you can leave with a working console and a game instead of spending the rest of the day hunting for compatible cartridges around Akihabara.
The game prices have also been praised as fair. One comparison put workshop prices around 40 percent below prices seen at Super Potato for the same titles. That will not erase the high workshop fee, but it can make adding a few games less painful.
A protective case has also been provided to some participants. Since this is not listed separately among the formal inclusions, consider it a pleasant extra rather than something to count on. Ask before booking if a carrying or display case is important to you.
Is $360 a fair price?
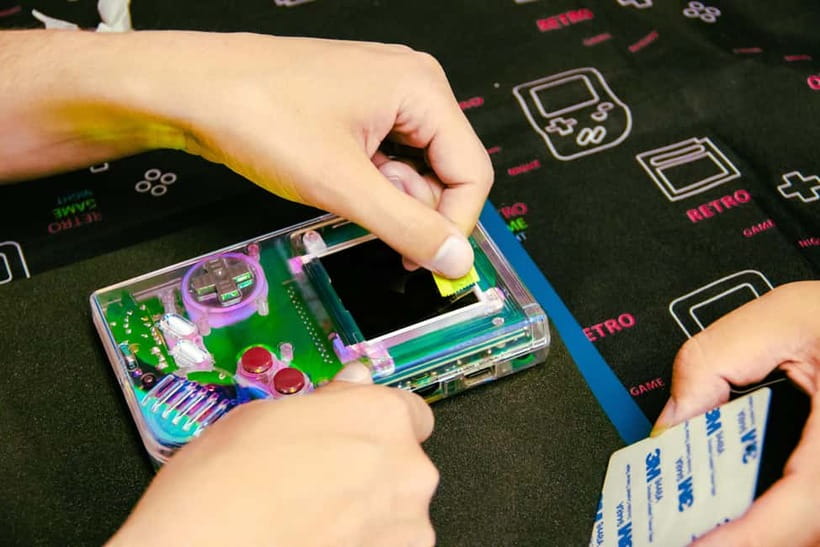
At $360 per person, this is an expensive two-hour activity. If you compare it with a museum visit, an arcade session, or a standard sightseeing tour, the cost is hard to ignore.
The value comes from the combination of parts, labor, instruction, testing, and the finished Game Boy. You are not paying only for two hours in a room. You are paying for a functioning custom console, access to replacement and upgraded components, expert help during delicate work, and a personal activity in one of Tokyo’s best-known gaming districts.
The four-person limit improves the value. A large class might offer the same basic project, but it would be harder to get one-to-one support. Here, the staff can slow down when you need it and answer questions at the level you want.
The price makes the most sense for:
- A dedicated Game Boy or Nintendo fan
- Someone who wants a usable souvenir rather than a decorative item
- A parent buying a special activity for an older child
- A couple or friends who enjoy making things together
- An electronics or design enthusiast
- A person celebrating a milestone or giving the workshop as a gift
It makes less sense if you have no interest in retro games and are mainly looking for a cheap way to fill two hours in Akihabara. You may enjoy the social side, but the console is the centerpiece, and the cost reflects that.
One useful way to judge it is to ask yourself what you would pay for a custom Game Boy you had designed and helped assemble. If that number is far below $360, skip it. If the personal work and upgraded machine matter more than getting the cheapest possible console, the price becomes easier to defend.
Who will get the most from the experience?
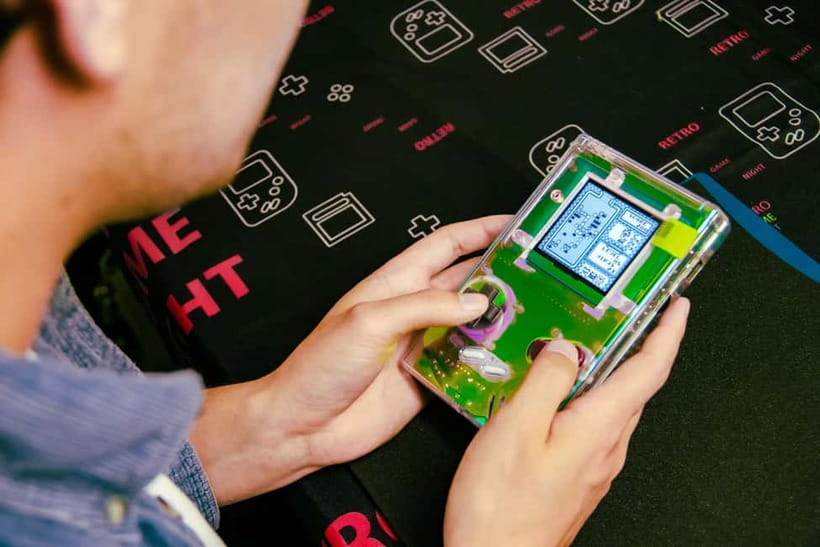
You do not need to be a Game Boy expert. The staff guide beginners carefully, and the history section gives you context before the tools come out.
You will get the most from it if you enjoy making choices and handling the object yourself. Someone who only wants a finished custom Game Boy might prefer to buy one, but that misses the central pleasure of the workshop.
It is also a strong choice for nostalgic adults. The experience connects a childhood machine with a new memory in Japan. You may find the finished console more meaningful because you built it during a trip, rather than ordering a similar-looking unit online.
Families should consider the age and patience of their children. The activity has been enjoyable for children around 10 to 14, but younger participants may need close adult help. Parents and companions have also been able to enjoy the presentation, try retro games, and take part in the atmosphere even when only one person is building, though you should confirm the arrangement before booking.
The workshop suits solo visitors, too. The class is small enough to encourage conversation, and the staff keep the process moving. You do not need to bring a group to make the activity worthwhile.
Practical details that can affect your day
Plan around two hours, and check the available start times before arranging other Akihabara activities. The workshop is on the second floor of the Wakita Building, without an elevator or escalator, so it is not suitable for wheelchair users.
The meeting instructions are simple: follow the address to the building and go to the second floor. Give yourself enough time to find the building in Akihabara, especially if you are carrying luggage or trying to fit this between shopping stops.
The workshop is taught in English and Japanese. It is a small-group experience with a maximum of four participants, and all activities, admissions, parts, and expert guidance are included in the listed package.
Free cancellation is available up to 24 hours before the start time for a full refund. You can also reserve now and pay later, which helps if you are still arranging a busy Tokyo schedule.
Because places are limited, do not leave this until the final day of your trip if the timing matters. The workshop runs at set starting times, and a four-person class can fill quickly.
My verdict: book it if the console matters
I would recommend this workshop to anyone who sees the Game Boy as more than an old plastic rectangle. The best parts are clear instruction, friendly staff, a small class, real customization, and a finished console you can use after returning home.
The main caution is price. At $360, you should book it for the hands-on work and personal souvenir, not because it is a bargain. You should also be comfortable climbing stairs and spending two focused hours on one project.
If you love Nintendo, retro hardware, or design, this is one of the more personal things you can do in Akihabara. Choose a bold color combination, ask plenty of questions, test your new screen, and leave room in your luggage for a few cartridges. If you only want to see old games, spend the money elsewhere. If you want to make a Game Boy that belongs specifically to you, book it.
FAQ
Where does the Game Boy mod workshop take place?
The workshop is on the second floor of the Wakita Building in Akihabara, Tokyo.
How long does the workshop last?
The experience lasts two hours. Available starting times can be checked when booking.
How much does the workshop cost?
The listed price is $360 per person.
How many people can join each workshop?
The class is limited to four participants.
What languages are available?
The workshop is offered in English and Japanese.
What is included in the experience?
The package includes the activities, admissions, provided Game Boy parts, customization work, and guidance from multilingual staff.
What can I customize?
You can choose the color of your case, buttons, and other parts. The workshop also offers screen options, including an improved backlit screen, along with choices such as the screen surround and power switch.
Is the workshop wheelchair accessible?
No. The workshop is on the second floor, and the building does not have elevators or escalators.
Can I cancel or pay later?
You can cancel up to 24 hours in advance for a full refund. The booking option also allows you to reserve your place and pay later.
Just added in Tokyo
- A One-of-a-Kind Sushi Experience in a Special Place of Japan★ 5.0 · 15 reviews
- Tokyo Cute Bento Cooking Class – Make a Kawaii Character Lunchbox★ 5.0 · 126 reviews
- Japanese Home Cooking Class & Walk in Todoroki Temple Tokyo★ 5.0 · 88 reviews
- Japan Tokyo Tower Observatory Deck E-Ticket★ 4.0 · 34 reviews
- Catch a Baseball Game in Tokyo with a Local – Tickets Included★ 5.0 · 24 reviews
- Japan Classic 10 Day – One Life Adventures★ 5.0 · 129 reviews
- JDM Experience with Fast&Furious RX-7 (English speaking Driver)★ 5.0 · 57 reviews
- Tokyo Private Day Tour by Car with English speaking Driver Guide★ 4.0 · 29 reviews
Workshops, compared.
Sushi Making Tokyo Roll and Authentic Japanese Sushi Class
Read our review →
Gion Make Your Own Chopsticks with Engraving Option
Read our review →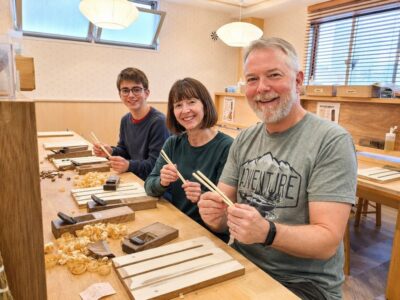
Roll and Authentic Sushi Making Class in Asakusa
Read our review →
Ramen Cooking Class at Ramen Factory in Kyoto
Read our review →
Tokyo Asakusa Chopsticks Workshop: Make Your Own Pair
Read our review →
Ring Making Workshop : Vintage Japanese Coin Ring
Read our review →Browse the lists this tour appears in